Woodworking Accessories Tips
Homag Glue Pot Maintenance Guide: Keep Your Edgebander Running Smooth
Aug
Understanding the Homag Glue Pot
What Does the Glue Pot Do?
-
Heats glue granules to around 180°C.
-
Delivers melted glue to the roller.
-
Ensures even adhesive coating for consistent edge banding.
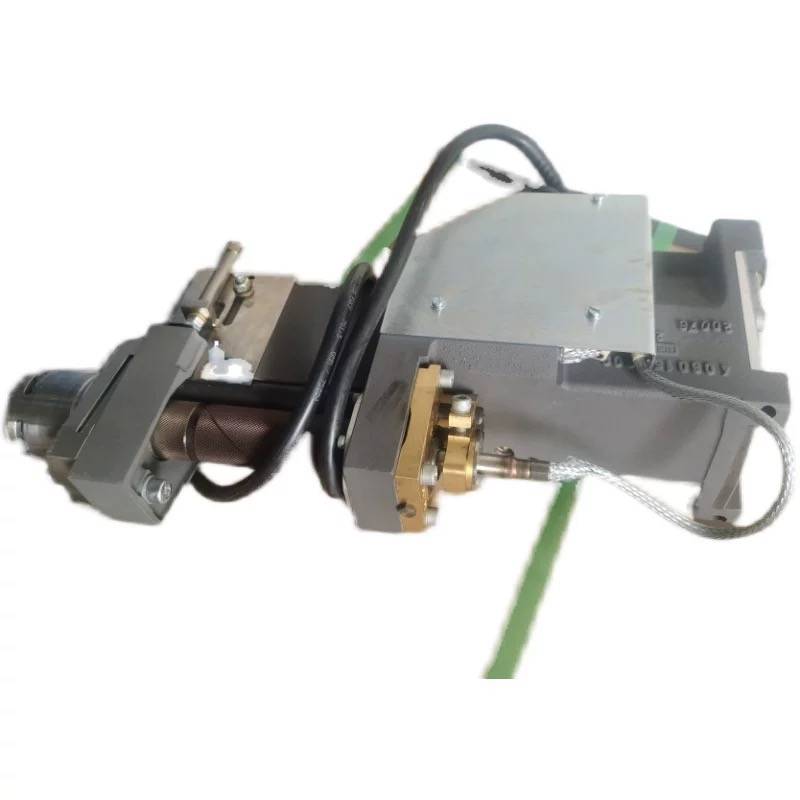
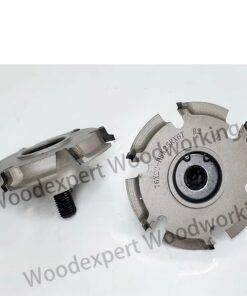
📷 Image suggestion: Close-up photo of a Homag glue pot.
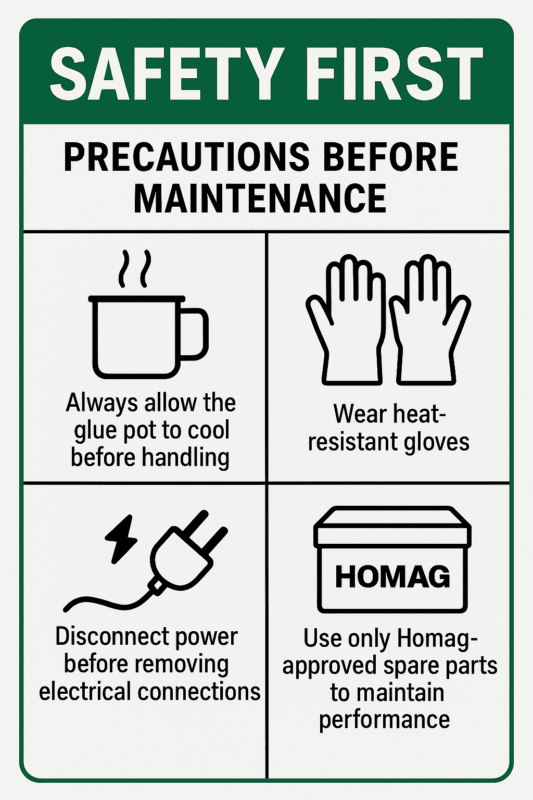
Safety First: Precautions Before Maintenance
-
Always allow the glue pot to cool before handling.
-
Wear heat-resistant gloves.
-
Disconnect power before removing electrical connections.
-
Use only Homag-approved spare parts to maintain performance.
Removing the Glue Pot
1.Heat the glue pot to about 180°C, then turn off heating.
2.Switch off the glue roller.
3.Carefully remove the glue level sensor. (Avoid forcing it — it’s often stuck with glue residue.)
4.Loosen the handle screw and lift off the top glue tank.
5.Clean out glue residue from screw holes.
6.Use a 6mm hex key to remove fixing screws.
7.Remove the protective cover, unplug the power cord.
8.Lift the glue pot out with the U-shaped handle.
Removing the Glue Roller
The glue roller is the most stressed part of the system. High-speed rotation and extreme temperatures cause bearings, seals, and shafts to wear.
Steps to Remove the Glue Roller
-
Keep the glue pot at 160°C during removal.
-
Unscrew the 4 M6*30 hex screws at the roller base.
-
Open glue gates.
-
Pull out the roller from below.
-
Remove the heating tube (⚠ don’t spray WD-40 on hot parts).
-
Unscrew copper component and remove it.
-
Once cooled, soak the roller in glue remover for about a week.
-
Clean softened glue residues.
-
Disassemble locking nut, washer, retaining rings, oil seal.
-
Press out the roller seat and remove bearings.
-
Clean all components thoroughly.
Installing the Glue Roller
-
Inspect spindle for damage.
-
Clean spindle and copper sleeve.
-
Replace O-ring.
-
Install square sleeve manually.
-
Insert two 6005 bearings (remove one iron seal for lubrication).
-
Tighten slotted nut, ensuring roller spins freely.
-
Do not overtighten stop washer.
-
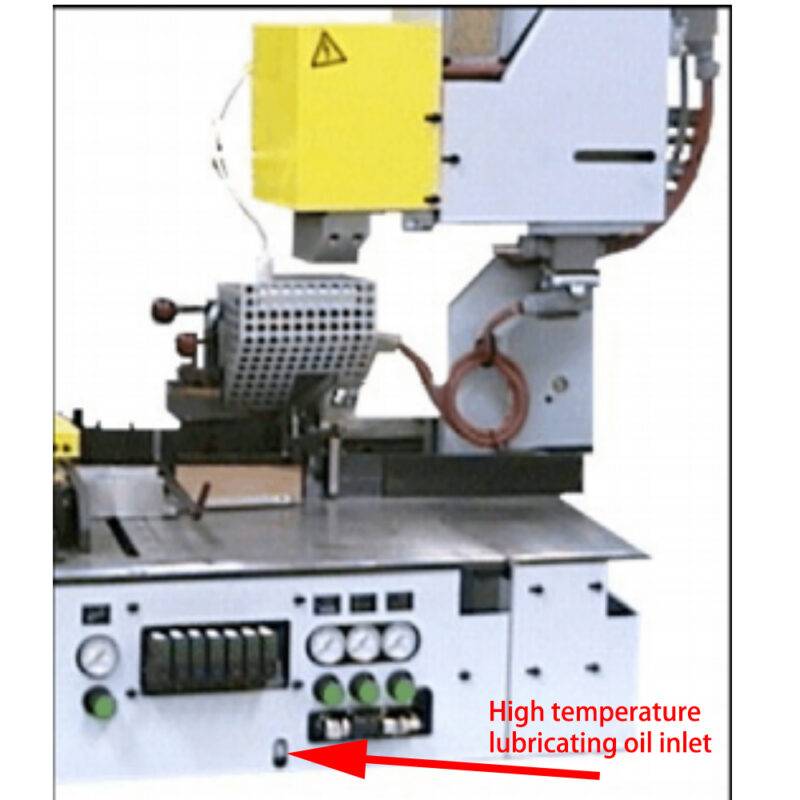
Inject high-temp grease into oil hole.
Installing Copper Components
-
Install copper sleeve and seals correctly.
-
Replace any severely worn components.
-
Ensure seal rings face the correct direction.
-
Place copper sleeve at bottom of heating tube.
Regular Maintenance for the Glue Roller
-
Switch roller daily to prevent glue buildup.
-
Maintain 0.1mm clearance between roller and workpiece.
-
Inspect glue level probe and cables.
-
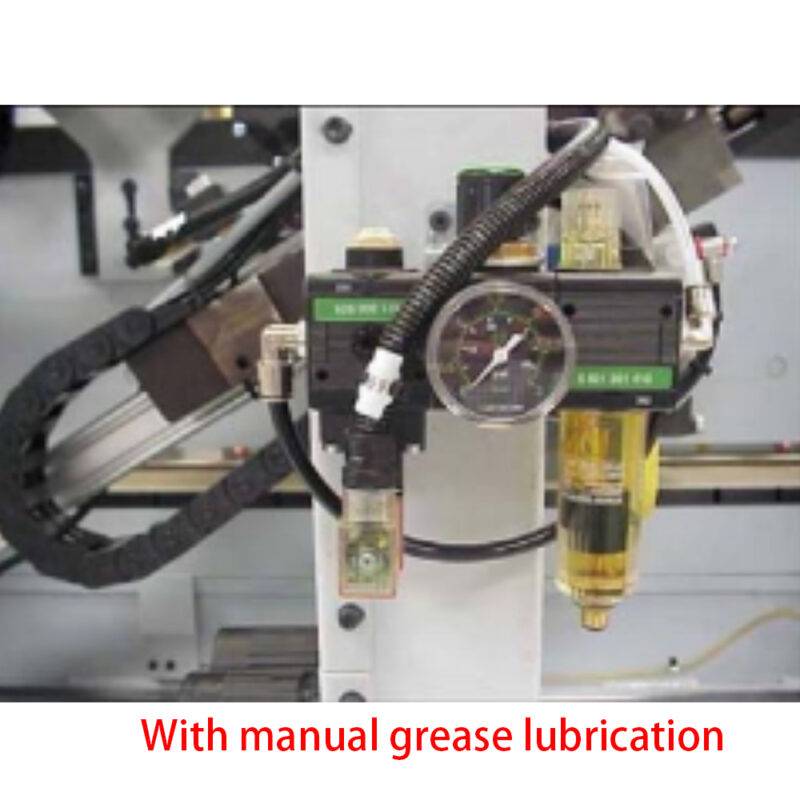
Grease with high-temp grease regularly.
-
Remove overflowed hot melt glue.
-
Monitor roller temperature.
-
Check airlock and floating amount of roller.
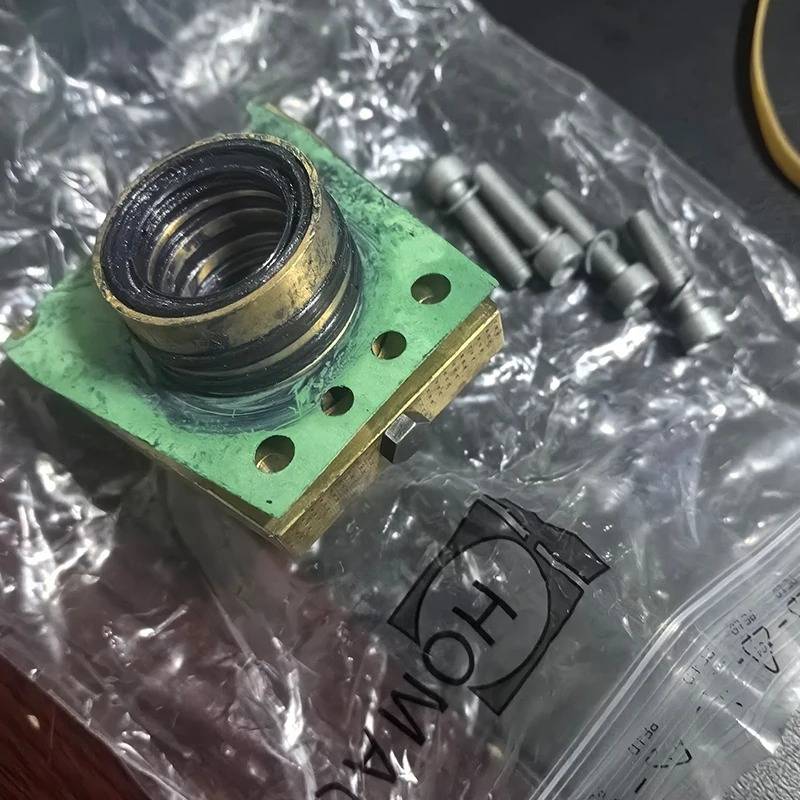
Spare Parts List for Homag Glue Pot & Roller
-
4012020053 O-ring Seal
-
4012060245 Square Ring
-
4012010589 Flat Seal
-
4012010608 Seal Ring
-
4012010408 Seal Rotor
-
6005-2ZR-C3 Bearings
-
3006040720 Glue Gate
-
3008085270 Copper Sleeve
Other Woodworking Machine Accessories
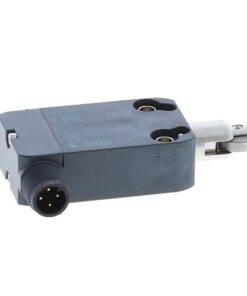
Other Woodworking Machine Accessories
Limit Switch B110BB-DMK Roller for Homag Machine 4008320258 Standard Steel Roller Plunger
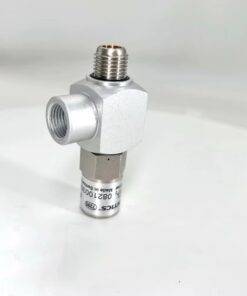
Edgebander parts
Troubleshooting Common Glue Pot Problems
Glue Pot Overheating
-
Check thermostat sensor.
-
Ensure glue level sensor isn’t blocked.
Roller Not Spinning Smoothly
-
Likely worn bearings → replace with 6005-2ZR-C3.
Uneven Glue Application
-
Roller clearance incorrect → adjust to 0.1mm.
-
Glue residue on roller → clean immediately.
Excessive Glue Overflow
-
Overfilled glue pot.
-
Check glue gate seal.
Preventive Maintenance Tips
-
Use only high-quality hot melt adhesive.
-
Run machine at correct temperature range (160–180°C).
-
Avoid leaving glue inside pot overnight (hardened glue damages parts).
-
Schedule monthly inspection of seals and bearings.
📷 Image suggestion: Bottle of approved hot melt adhesive near Homag edgebander.
-
Alt text: High-quality hot melt adhesive for Homag edgebander glue pot.
FAQ (For Google People Also Ask)
Q1: How often should I clean my Homag glue pot?
👉 Every time glue is changed, and deep cleaning once a month.
Q2: Can I use third-party spare parts instead of Homag originals?
👉 For seals and O-rings, third-party can work, but critical parts like glue rollers should always be OEM.
Q3: What is the ideal glue pot temperature?
👉 Between 160–180°C, depending on adhesive type.
Q4: Why is my glue roller not applying enough glue?
👉 Likely worn bearings or incorrect clearance. Clean roller and check alignment.
Q5: How do I extend the life of my Homag glue pot?
👉 Regular cleaning, proper lubrication, and replacing worn seals/bearings on time.
Conclusion
Maintaining the glue pot and roller of a Homag edgebander is not optional — it’s the difference between smooth, professional edges and costly downtime. With the right maintenance steps, proper spare parts, and regular inspections, your machine will stay reliable for years.
If your glue pot is too worn or beyond repair, consider replacing it with a new unit or using a Homag glue pot repair kit.
📢 Tip: Leabon supplies Homag glue pots, rollers, and spare parts worldwide — helping you keep production on track.