Woodworking Accessories Tips
Maintenance Guide for HOMAG Edgebander Glue Pot: Step-by-Step Instructions for Longevity and Performance

May
🔧 Why Glue Pot Maintenance Is Crucial
The glue pot melts EVA or PUR hot melt adhesive and applies it via the glue roller. Over time, glue residue, overheating, and wear can cause:
-
Poor glue spreading
-
Weak bonding between panels and edge tape
-
Glue leaking or clogging
-
Unexpected machine breakdowns
Proper maintenance boosts productivity and ensures long-term performance.
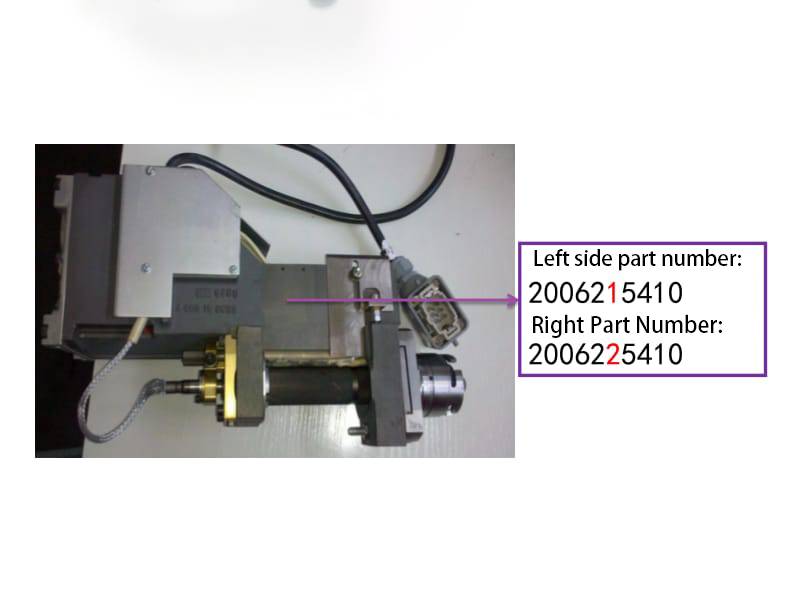
🧰 How to Remove the HOMAG Glue Pot
-
Heat the glue pot to 180°C to soften residual glue.
-
Turn off the glue pot heating from the control panel.
-
Switch off the glue roller motor.
-
Carefully remove the glue level sensor.
-
Unscrew and lift the top glue tank.
-
Use a 6mm Allen key to unscrew and remove the glue pot bolts.
-
Unplug the power cable and remove the protective cover.
-
Use the handle to safely remove the glue pot.
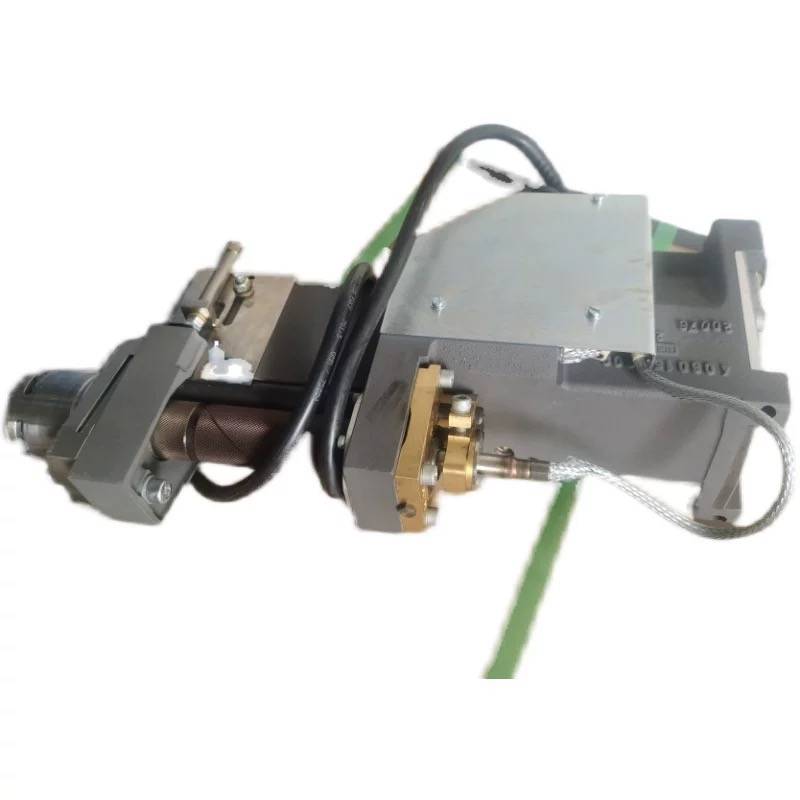
🛠 How to Remove and Clean the Glue Roller
🧩 Disassembling the Glue Roller Shaft
🔩 Reassembling and Installing the Glue Roller
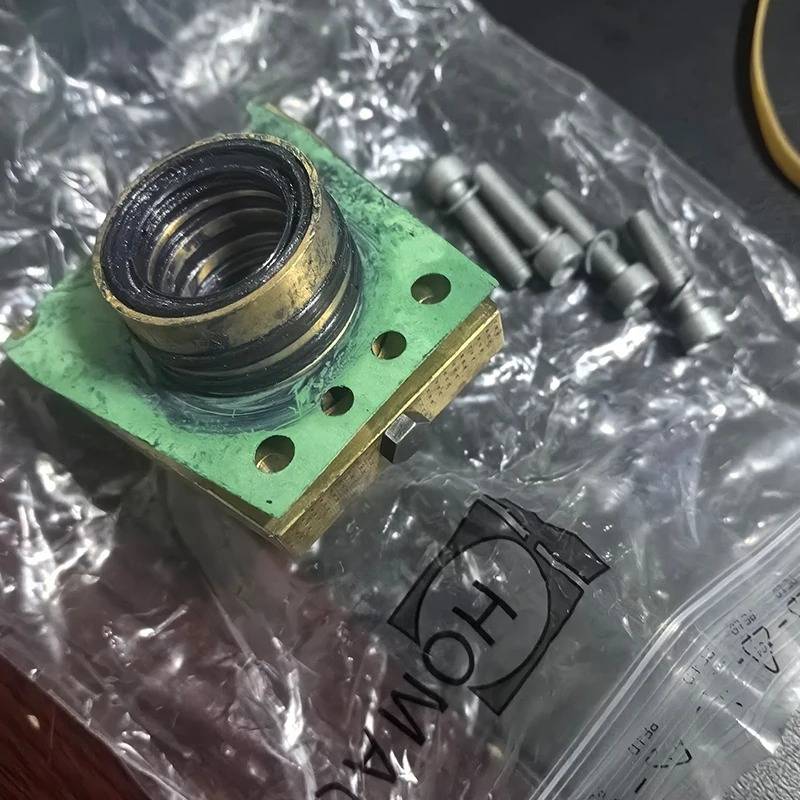
🟠 Installing and Maintaining the Copper Component
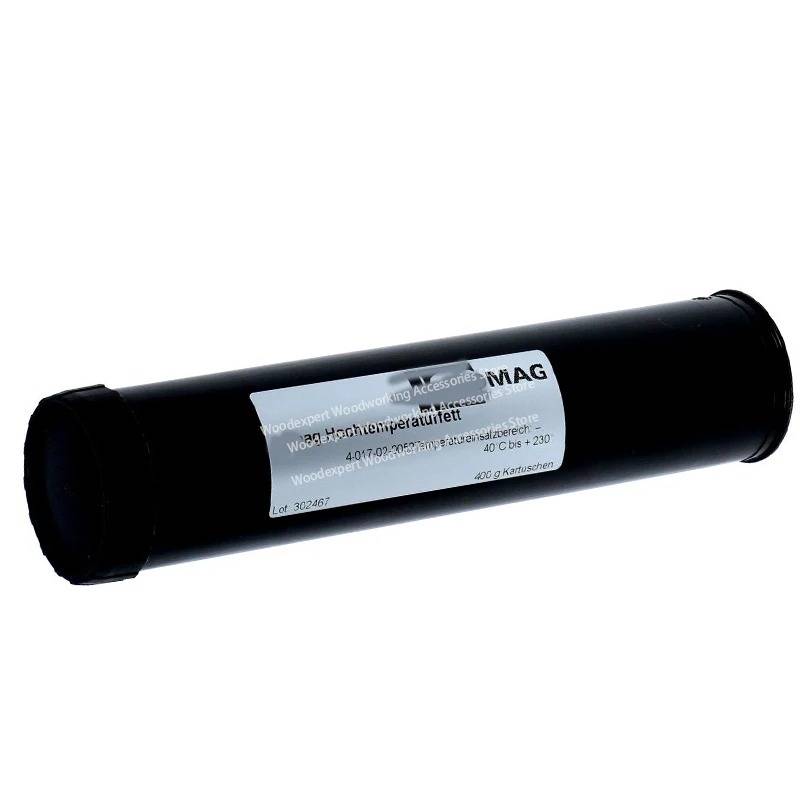
🧼 Routine Maintenance Tips for HOMAG Glue Roller
-
Test glue roller start/stop before daily operations.
-
Keep panel-to-roller gap around 0.1mm.
-
Inspect sensors and cables regularly.
-
Grease every 2–3 weeks using a high-temp grease gun.
-
Clean up glue overflows immediately.
-
Check glue roller for jamming or noise.
-
Monitor temperature stability and float movement.
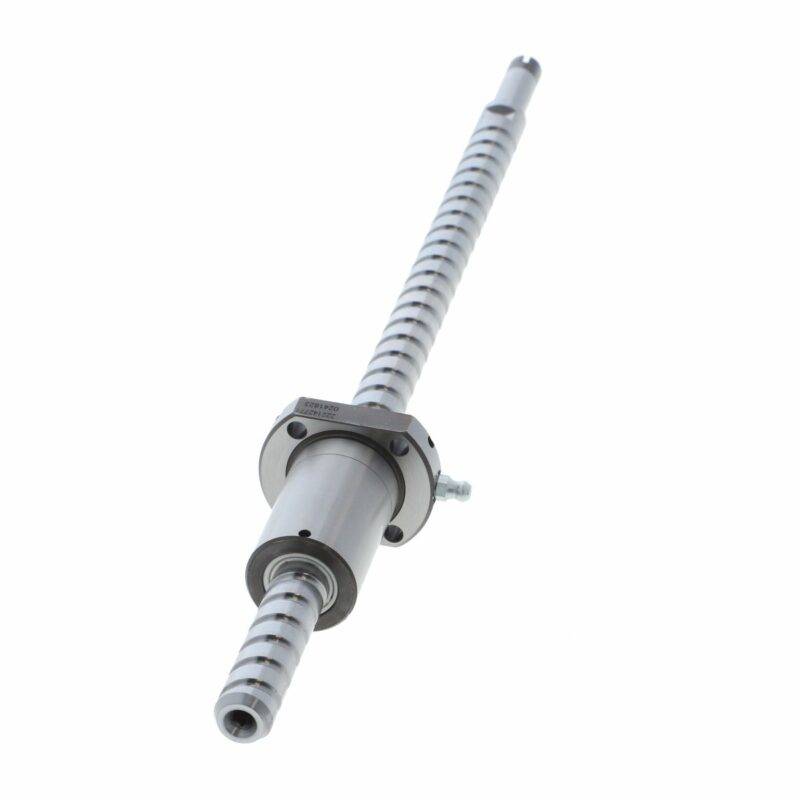
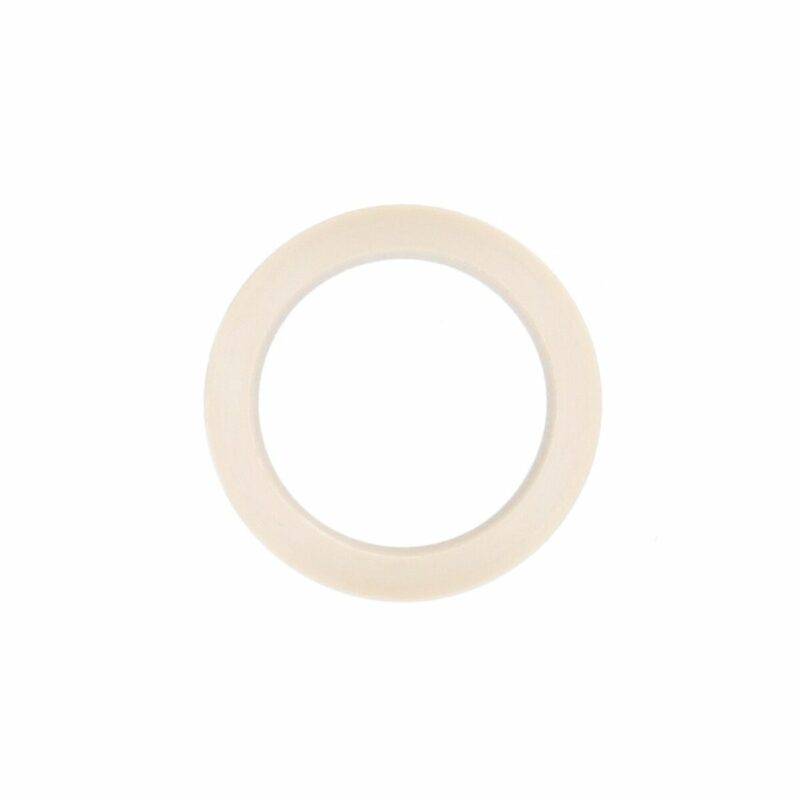
🧾 Common HOMAG Glue Pot & Roller Spare Parts
Stock these essential spare parts to reduce downtime:
-
O-ring Seal – 4012020053
-
Square Ring – 4012060245
-
Flat Seal – 4012010589
-
Seal Ring – 4012010608
-
Seal Rotor – 4012010408
-
Copper Sleeve – 3008085270
-
Bearing – 6005-2ZR-C3
-
Glue Gate – 3006040720
-
Support Chuck – 3027015690
📦 Glue Pot Replacement & Repair Services
If your HOMAG glue pot is leaking or beyond repair, consider:
-
New HOMAG glue pot replacement
-
Glue pot repair kits and rebuild parts
-
Sending for professional glue pot refurbishing
Leabon supplies OEM-quality glue pots, rollers, and parts tailored for HOMAG machines. Contact us for expert advice and fast global shipping.
✅ Final Thoughts
Prevent breakdowns, improve bonding quality, and extend the life of your HOMAG edgebander with routine glue pot and glue roller maintenance. This guide is your go-to resource for long-term performance and peace of mind in professional woodworking.